Okay, here’s my blog post about setting up chemical pumps for totes, written in a casual, first-person style:
Alright, so the other day I had to deal with transferring some nasty chemicals from those big ol’ IBC totes. I’m not a chemist, okay? But I needed a safe and, frankly, easy way to move this stuff without spilling it everywhere and turning myself into a supervillain.
The Mission: Get Stuff Outta the Tote
First thing I did, after putting on all that lovely safety gear – gloves, goggles, the whole shebang – was stare at the tote. Seriously, it’s just a giant plastic box. How do you get stuff out without making a mess?
My first thought was, “Just tip it?” Nope. Bad idea. Very bad idea. These things are heavy, and uncontrolled pouring is a recipe for disaster. Plus, some of the chemicals I’m moving you are very bad for the environment if it spills.
Finding the Right Weapon (I Mean, Pump)
So, pumps. I started looking around. There are a ton of different chemical pumps out there. I quickly realized I needed something specifically designed for totes, with a long enough tube to reach the bottom.
- Hand Pumps: I saw some manual, hand-crank pumps. They looked cheap, but my arms got tired just thinking about it. No thanks.
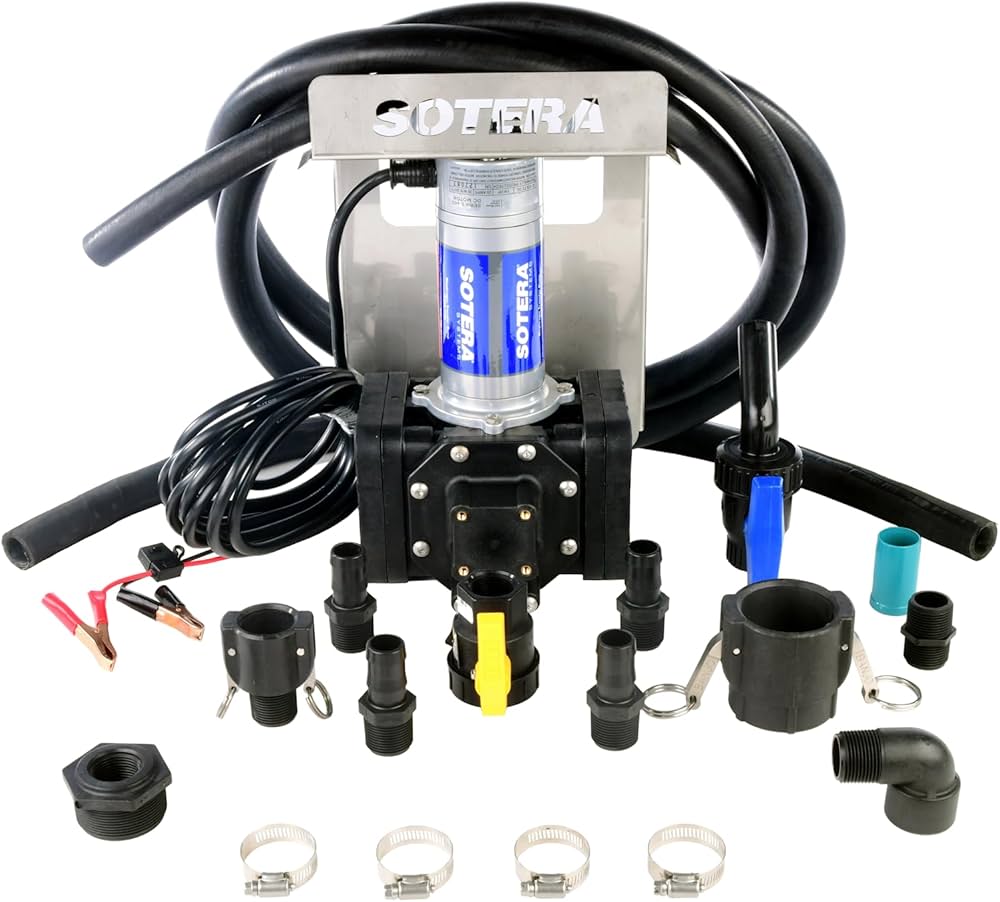
- Electric Pumps: Now we’re talking! But even then, there were choices. Some were clearly overkill – huge, industrial things. I just needed to move a tote’s worth, not supply a whole factory.
- Battery-Powered Pumps: This is the solution that I went with, I’m not always close to an outlet.
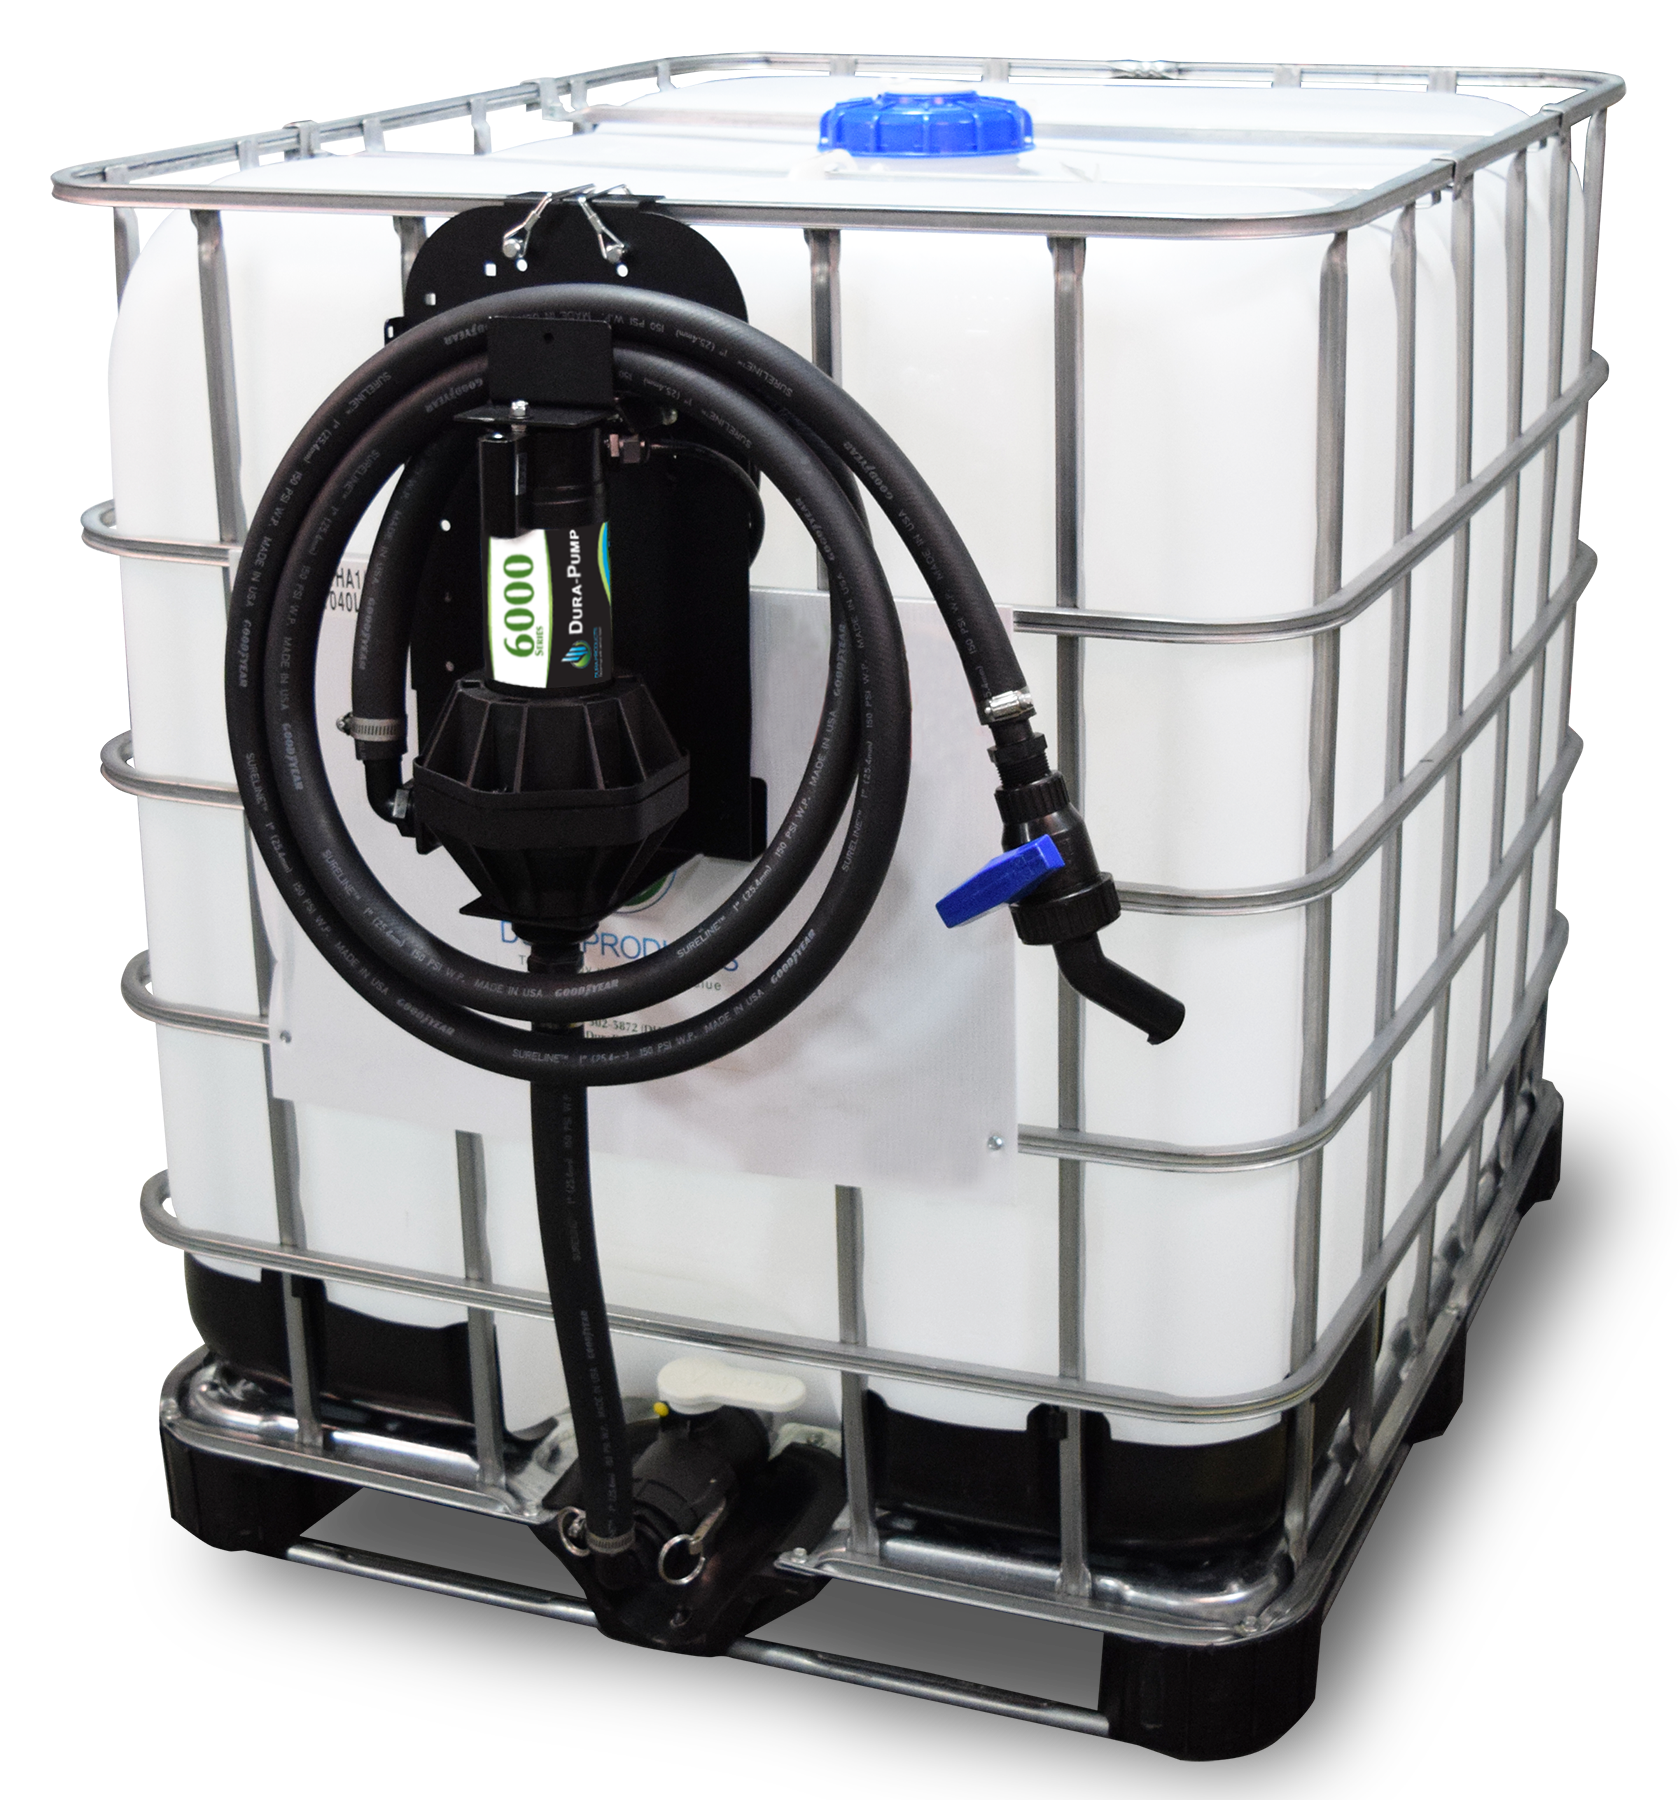
I ended up going with a smaller, electric pump specifically designed for chemicals and IBC totes. It had a decent flow rate, and, importantly, it was made of materials that wouldn’t, you know, dissolve when I used it.
The Setup: Not Rocket Science
Actually getting the pump set up was pretty straightforward. It was mostly a matter of:
- Screwing the pump onto the tote’s opening (make sure it’s the right size!).
- Putting the discharge hose where I wanted the chemical to go (duh).
- Double-checking all the connections, because nobody wants a surprise chemical shower.
- Making sure that the pump material is actually compatible with my chemical (pretty important).
I found a friendly chart online that cross-referenced different plastics with the chemical I’m using, and it had a nice green checkmark.
The Moment of Truth: It Works!
I flipped the switch (after one last check of my safety gear), and…it worked! Nice, steady flow of liquid, no spills, no drama. I felt like a genius, even though all I did was buy the right tool and follow the instructions. A genuine win for a DIY project.
So, that’s my little adventure with chemical pumps and totes. It’s not glamorous, but it’s a practical thing that I figured out, and maybe it’ll help someone else avoid a messy (and potentially dangerous) situation. Remember Safety first, and do the reserch before starting!