Okay, here’s my attempt at a blog post based on your instructions, focusing on building an acid dispenser pump.
My DIY Acid Dispenser Pump Project
Alright folks, let me tell you about this little project I tackled last week. I was tired of manually dispensing acid for my etching projects. It was messy, inaccurate, and honestly, a little scary. So, I figured, why not build a dispenser pump? How hard could it be? Famous last words, right?
First things first, I started by figuring out what I needed. I knew I needed a pump, some tubing, a container for the acid, and some way to control the pump. So, I hopped online and started looking for parts.
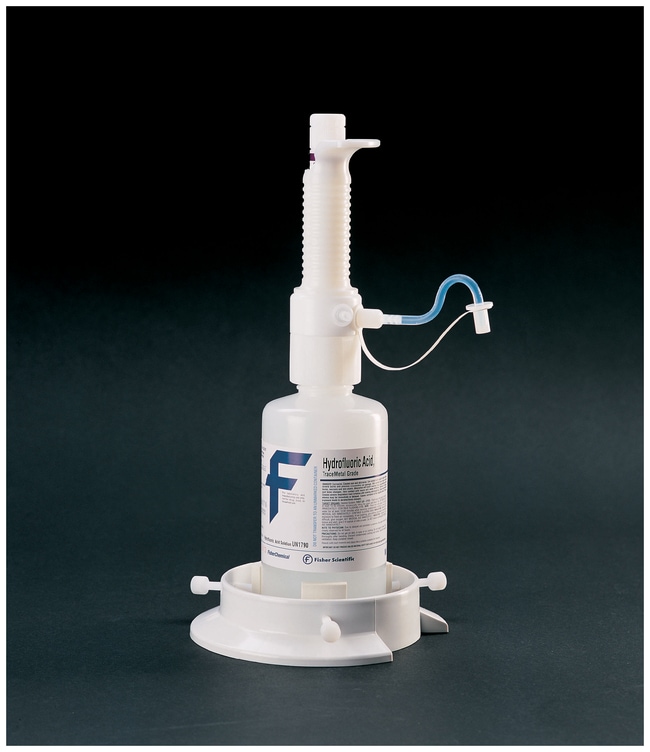
A small peristaltic pump. I went with one that was rated for corrosive liquids. Didn’t want any surprises later.
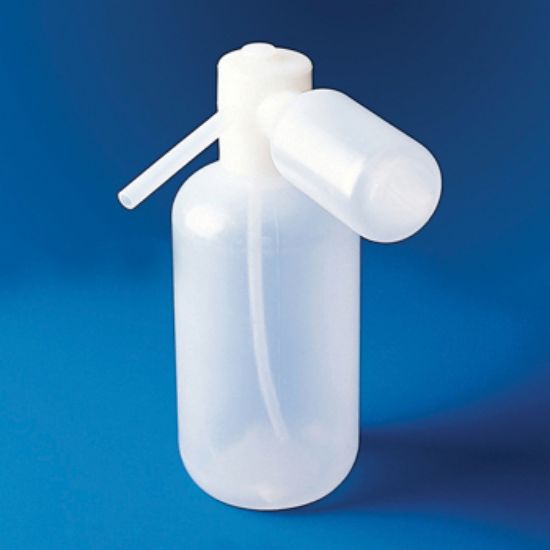
Some PTFE tubing. This stuff is chemically resistant, so it’s perfect for handling acid.
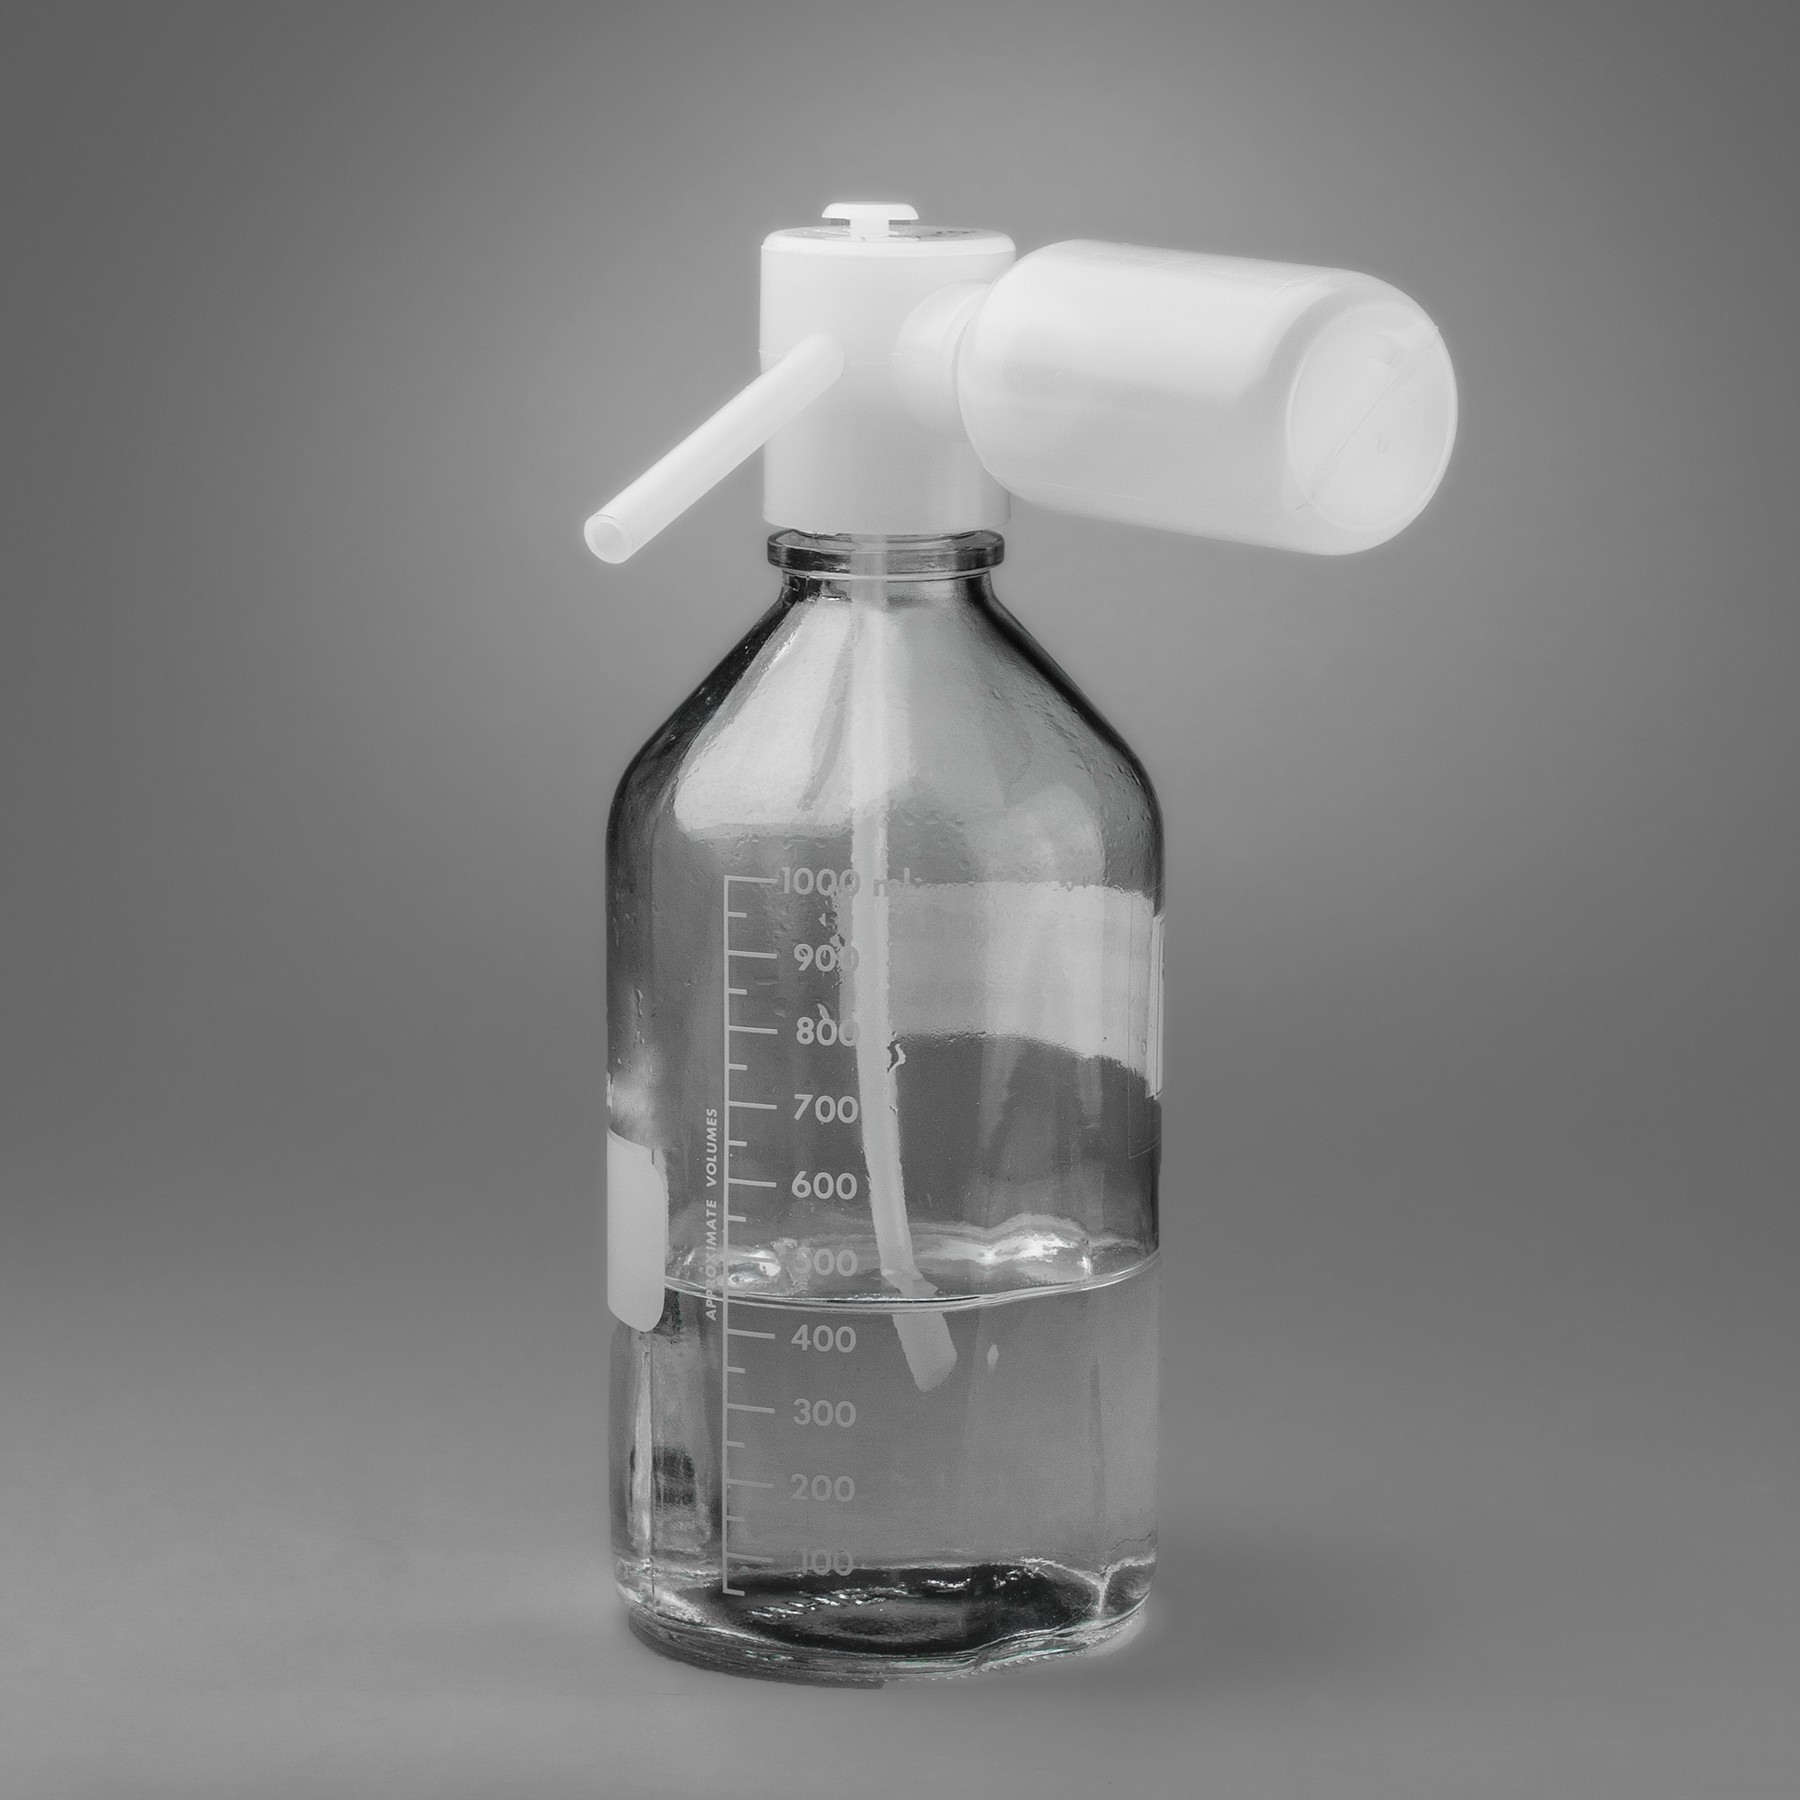
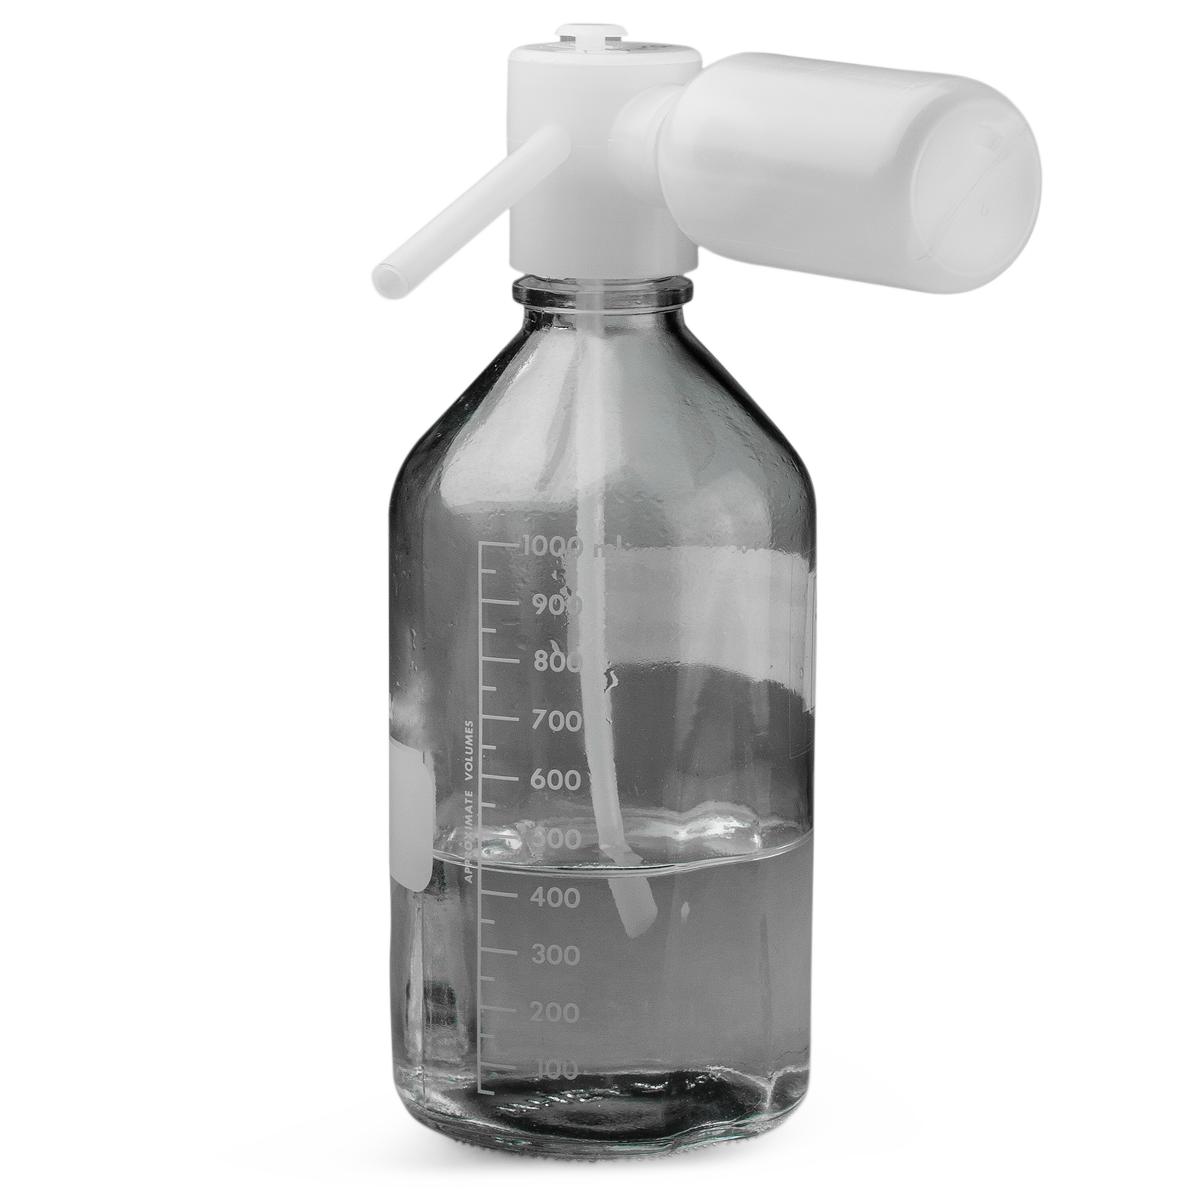
A plastic container. Picked up a sturdy one from a local hardware store. Made sure it had a tight-fitting lid.
An Arduino Nano. Because why not? I wanted to get fancy with the control.
A MOSFET. To control the pump’s power.
A potentiometer. For adjusting the pump speed.
Some resistors and wires. The usual stuff.
Then, came the fun part: putting it all together. I started by mounting the pump onto a small piece of wood. Just used some screws and washers. Nothing fancy. Then, I connected the PTFE tubing to the pump’s inlet and outlet. One end went into the acid container, and the other end was the dispensing nozzle.
Next, I wired up the Arduino. I connected the potentiometer to an analog input, the MOSFET to a digital output, and then wired the pump to the MOSFET. I had to Google a few diagrams to make sure I got it right. I’m no electrical engineer, you know?
After the wiring, I uploaded a simple program to the Arduino. The program read the potentiometer value, mapped it to a pump speed, and then controlled the MOSFET to turn the pump on and off at that speed. It was pretty basic, but it worked.
c++
// Basic Arduino code for controlling the pump
int pumpPin = 9; // Digital pin for the MOSFET
int potPin = A0; // Analog pin for the potentiometer
void setup() {
pinMode(pumpPin, OUTPUT);
void loop() {
int potValue = analogRead(potPin); // Read the potentiometer value
int pumpSpeed = map(potValue, 0, 1023, 0, 255); // Map the value to a PWM range
analogWrite(pumpPin, pumpSpeed); // Control the pump speed using PWM
delay(10); // Short delay
I tested it with water first, just to make sure everything was working correctly. And guess what? It worked! The pump turned on, and water flowed through the tubing. I adjusted the potentiometer, and the flow rate changed. I was pretty stoked.
Then came the moment of truth: testing it with acid. I put on my safety goggles and gloves, filled the container with a small amount of acid, and carefully turned on the pump. It worked! The acid dispensed smoothly and accurately. I was able to etch my circuit boards with much more precision than before.
Of course, there were a few hiccups along the way. The first pump I bought was too weak. The tubing kept slipping off the pump connectors, so I had to use some clamps. And the Arduino code needed some tweaking to get the flow rate just right. But overall, it was a successful project.
What did I learn?
Always wear safety gear when working with acid. Duh.
Double-check your wiring before plugging anything in.
Don’t be afraid to experiment and tweak your code.
And most importantly, building your own tools can be really rewarding.
I’m pretty happy with my acid dispenser pump. It’s made my etching projects much easier and safer. And who knows, maybe I’ll add some more features in the future, like a digital display or a timer. The possibilities are endless! Now, back to the workshop…got some more projects to get to!