Dealing with that Fussy HCL Acid Pump
Alright, let me tell you about this hcl acid pump situation I tackled recently. It wasn’t exactly a walk in the park, lemme tell ya. The old pump we had was just… done. Kaput. Making weird noises and not really pumping much of anything. So, job one was getting it replaced.
First things first, safety. Dealing with hydrochloric acid, even the diluted stuff we use, isn’t something you mess around with. Got my gloves on – the thick kind – and face shield clamped down. You only get one pair of eyes, right? Turned off the main lines, made sure everything was depressurized. Don’t want any nasty surprises spraying out.
Getting the Old One Out
Undoing the fittings on the old pump was a bit of a struggle. Everything was corroded and kinda fused together. Needed some elbow grease and a good wrench. Finally got it disconnected. Lifted it out carefully, making sure not to drip any leftover acid. Placed it straight into a containment bucket. That thing was headed for proper disposal, no doubt.
Putting the New One In
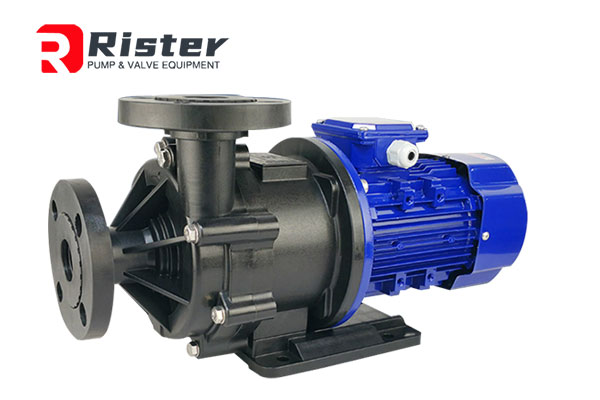
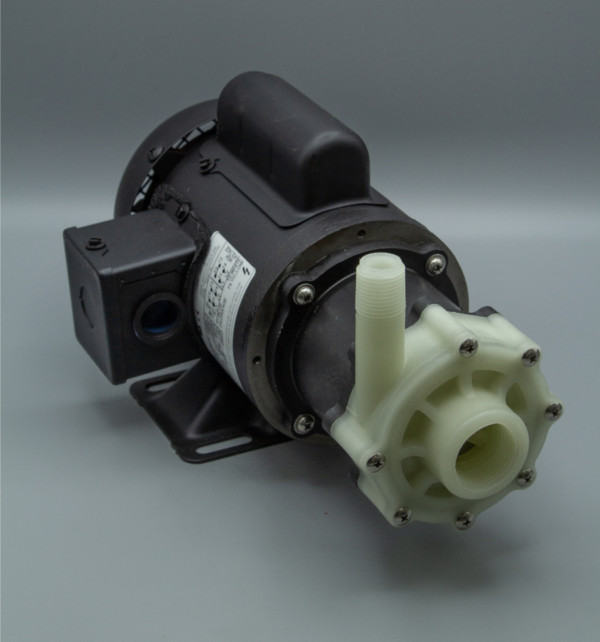
The new pump looked decent enough. Supposedly better seals and a more reliable motor. We’ll see about that. Lining it up took a minute. Had to make sure the inlet and outlet ports matched the existing pipes. Cleaned the pipe ends real good before connecting. Used new gaskets, of course. Tightened the fittings, but not too tight. Cracking the housing is a bad time.
- Checked the power connection. Made sure it matched the pump’s requirements.
- Double-checked all the hose clamps.
- Made sure the suction line had its foot valve and strainer clear.
The Annoying Part: Priming and Testing
Okay, here’s where it got a bit frustrating. Priming these things can sometimes be a pain. Opened the valves slowly. You could hear the pump trying to pick up the acid. Took a few tries. Had to bleed a little air out of the discharge side. Finally, it started pulling liquid steadily. Phew.
Then came the calibration. Needed to make sure it was dosing the right amount. Got out the graduated cylinder and a stopwatch. Ran the pump for a set time, measured the output. Adjusted the stroke length or frequency. Repeat. Took maybe four or five runs to get it dialed in just right. It’s tedious but gotta be done.
All Done (For Now)
So, after a bit of fiddling and some careful work, the new hcl acid pump was up and running. Watched it cycle for a good while, checking for any leaks around the fittings or the pump head. Everything looked dry and solid. The flow rate seemed stable too.
It’s always a relief when a job like this is done. Handling corrosive stuff keeps you on your toes. Hopefully, this new pump behaves itself for a good long while. Beats dealing with the old leaky one, that’s for sure.