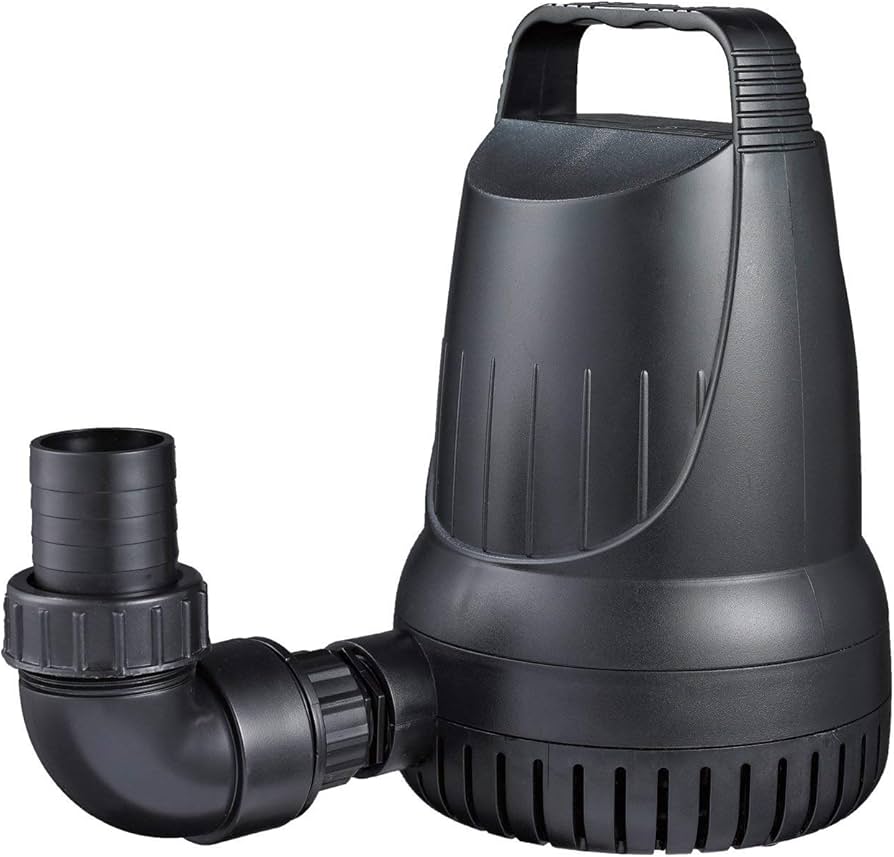
Alright, here’s the lowdown on my magnetic drive submersible pump project. Fair warning, I ain’t no engineer, just a regular guy tinkering in the garage. So, buckle up, it might get a little messy!

So, it all started when I needed to pump some water out of a tank in my backyard. The old pump I had was on its last legs, noisy as heck, and honestly, I was just itching to try something new. I’d been reading up on magnetic drive pumps – sounded kinda cool, no direct shaft connection, less chance of leaks, all that jazz. Figured, why not give it a shot?
First things first: I started scavenging parts. I had this old aquarium pump lying around, a small one. Tore it apart. The impeller looked decent, and the housing was kinda usable. Score! Then I hopped online and ordered some neodymium magnets – figured those would give me the oomph I needed for the magnetic drive. I got a bunch of different sizes, just to play around with. Also snagged some PVC pipe fittings, hose clamps, and a new power cord, just to be safe.
Next up: Building the thing. This is where it got a little…creative. I started by trying to attach the magnets to the impeller and the motor shaft. Hot glue? Nope. Epoxy? Nope. Everything kept slipping or flying off when I spun it up. Finally, I found this industrial-strength adhesive at the hardware store. That stuff was like magic. I carefully glued the magnets onto the impeller, making sure they were evenly spaced and the polarity was right (that took some trial and error, let me tell you!). Then I did the same thing to the motor shaft, making sure the magnets on the shaft would attract the magnets on the impeller.
Putting it all together: I modified the aquarium pump housing to fit the new impeller and the motor. Had to do some Dremel work to make everything fit snug. Then I used the PVC fittings to create an inlet and outlet for the pump. Slapped on some hose clamps to make sure everything was watertight. Wired up the new power cord, making sure everything was properly insulated. Safety first, people!
- Magnet Placement: Seriously, getting the magnet placement right was a pain. I marked everything with a Sharpie before gluing, but things still shifted. Patience is key here.
- Waterproofing: I used a ton of silicone sealant. Probably overkill, but I didn’t want any leaks.
- Testing: Don’t test it inside! I learned that the hard way. Made a bit of a mess.
Testing Time!
The moment of truth! I submerged the pump in a bucket of water, plugged it in, and… nothing. Crap. Double-checked the wiring, the magnets, everything. Still nothing. Turns out, the magnets I used were too small. Not enough torque to spin the impeller under water. Back to the drawing board.
I ordered some bigger, stronger magnets online. Waited a few days, and they finally arrived. Ripped the pump apart again, replaced the magnets, and put it back together. This time…it worked! The impeller spun, and water started flowing. Not a ton of water, mind you, but it was working! I let it run for a few minutes, checking for leaks and overheating. Everything seemed good.
Final Thoughts: Okay, it wasn’t pretty, and it wasn’t super powerful, but it was a working magnetic drive submersible pump that I built myself. Pretty cool, right? It’s definitely a learning experience. If I were to do it again, I’d probably spend more money on better quality components. And maybe watch a few more YouTube videos before diving in headfirst. But hey, that’s half the fun, right?
So there you have it. My magnetic drive submersible pump adventure. Hope you enjoyed the ride!

